Choosing performance apparel is less about finding a single “best” piece and more about matching a garment to how and where you will use it. Start with the activity, then work through exposure, layer role, movement, fit, storage, care and the return terms that apply where you shop. Product pages are most useful when you read them as documentation to compare, rather than as a substitute for your own needs.
Start With Activity, Exposure and Layer Role
Build your shortlist around the job the garment must do. Running usually puts a premium on a light feel, freedom around the shoulders and hips, and a layer that remains comfortable as effort and temperature change. Gym training can demand a different balance: consider whether the garment will be used for lifting, intervals, floor work or mixed sessions, because stretch, coverage and pocket placement can matter as much as fabric description. Commuting often adds variable weather, time spent standing or sitting, and the need to carry small essentials. Hiking brings duration, terrain, changing exposure and a greater chance that one item must work within a layer system.
Next, define the expected conditions. Note the likely temperature range, wind, rain, sun, humidity and how quickly you can add or remove a layer. A close-fitting base layer, a breathable mid-layer and an outer shell have different roles; treating them as interchangeable can produce an awkward or overly warm setup.
Use the retailer’s intended-use description as a starting point, then test it against your own route or session. Write down the activity, the conditions you expect and whether the garment is meant to sit next to skin, add warmth or block weather. This makes later comparisons more consistent and helps avoid buying a feature for a situation you do not actually face.
If you run regularly, an activity-specific running apparel guide can help turn those notes into a more focused shortlist.
Compare Fabric and Moisture Management
Fabric information is most useful when it answers a practical question: how will this piece feel during the intensity and duration of your activity? Look for the fibre content, construction, intended use and any manufacturer explanation of moisture management. Nike describes Dri-FIT as a named apparel technology, but the presence of a technology name alone is not a complete comparison; use the product’s own material and construction details alongside it.
For higher-output sessions, compare similar garments rather than comparing slogans across unrelated categories. Ask whether you need a close-to-body layer for a hard run, a less restrictive top for strength work, or a piece you can comfortably wear before and after training. Consider what happens when you slow down, move indoors, add a jacket or carry a pack. A fabric description can indicate the design intent, but comfort is also shaped by cut, seams, layering and the conditions in which you use it.
Avoid turning a manufacturer description into a universal performance claim. “Moisture-managing” does not tell you exactly how a garment will feel on every body, in every climate or across every workout. Instead, compare the documented details side by side: material composition, garment weight where supplied, ventilation features, lining, fit and care label. Then choose the option whose stated design most closely matches your intensity and drying needs.
A fabric-care and material glossary is useful when product terminology is unfamiliar or when two items use different descriptions for similar roles.
Match Weather Protection to Your Layer System
Weather protection should be chosen as part of a system, not as an isolated feature. Start by deciding whether you need a light layer for warmth or sun exposure, a wind-focused outer layer, a waterproof shell, insulation, or a combination you can adjust as conditions change. Arc’teryx groups light layers, waterproof gear, shell jackets and windshells separately in its range navigation, which is a useful reminder that these categories are designed for different use cases.
For a short urban commute, a packable outer layer may be more useful than a heavier shell. For an exposed hike, look more closely at the stated weather protection, hood, ventilation, layering room and intended activity. For running, a shell that feels acceptable while walking may still be too restrictive or warm once your effort rises. There is no universally correct setup: the right combination depends on exposure, pace, duration and how easily you can change layers.
Read the product description for what it explicitly promises, then compare it with the conditions you expect. If the page identifies a garment as a windshell, do not assume it provides the same protection as a waterproof shell. If it is insulated, check whether it is intended to be worn under or over other layers. Think through the whole sequence: starting cold, warming up, stopping for a break and encountering a change in weather.
A hiking layers guide can help you map base, mid and outer layers to a route before choosing individual products.
Check Movement, Fit and Storage
A technically appropriate fabric can still be the wrong choice if the garment limits the movements you actually make. Before comparing products, list the motions that matter: arm swing and rotation for running, deep squats and overhead work for training, reaching for poles or scrambling when hiking, and sitting or cycling during a commute. Use the brand’s fit description and size information to decide whether you need a close, regular or roomier cut for the intended layer role.
Pay attention to where the garment may shift or rub. Necklines, waistbands, cuffs, hems, shoulder seams and pocket edges can affect day-to-day comfort. A shell or mid-layer also needs enough room for the layers beneath it without leaving excessive loose fabric in wind. If you are between sizes, assess the item against the intended use rather than choosing purely by a number; the fit needed for a base layer can differ from the fit needed for an outer layer.
Storage deserves the same deliberate check. Decide what you genuinely carry: keys, phone, card, gels, gloves or a small map. Then compare pocket number, placement, closure and access while moving. More pockets are not automatically better if they interfere with a pack hip belt, bounce during a run or become hard to reach under another layer.
Use an apparel sizing guide alongside the product’s stated measurements and fit notes. Keep the tags on until you have checked the garment against the retailer’s applicable return conditions.
Factor in Care, Durability and Return Terms
Total value includes the effort required to keep a garment in usable condition. Read the care instructions before checkout, especially for technical outer layers and items that may need particular washing, drying or treatment steps. Arc’teryx provides dedicated product-care guidance for its GORE-TEX products; for any brand, follow the instructions for the exact item rather than applying a generic routine to every technical fabric.
Treat durability as a comparison question, not a promise you can infer from a product page. Look at the stated construction, intended activity and care requirements, then decide whether those align with the frequency and type of use you expect. A lighter piece may suit a specific high-output role, while a different construction may make more sense for regular pack contact or repeated commuting. Neither choice is automatically better without that context.
Return terms reduce purchase risk only when they apply to the exact item and region. On its US shipping and returns page, Arc’teryx states that eligible items can be returned within 30 days, but shoppers should check the current policy for their selected region, the item’s eligibility, condition requirements and any exclusions before ordering. Shipping regions and policies can differ, so do not rely on a general statement from another market.
An outdoor apparel care guide and a returns-policy explainer can make these checks quicker. Save the relevant product page, care page and regional policy page until you have completed your fit decision.
Use a Repeatable Purchase Checklist
AI-generated generic editorial illustration — not a retailer product photo and does not depict the reviewed product or service. Make the repeatable buying process scannable before readers compare individual products.
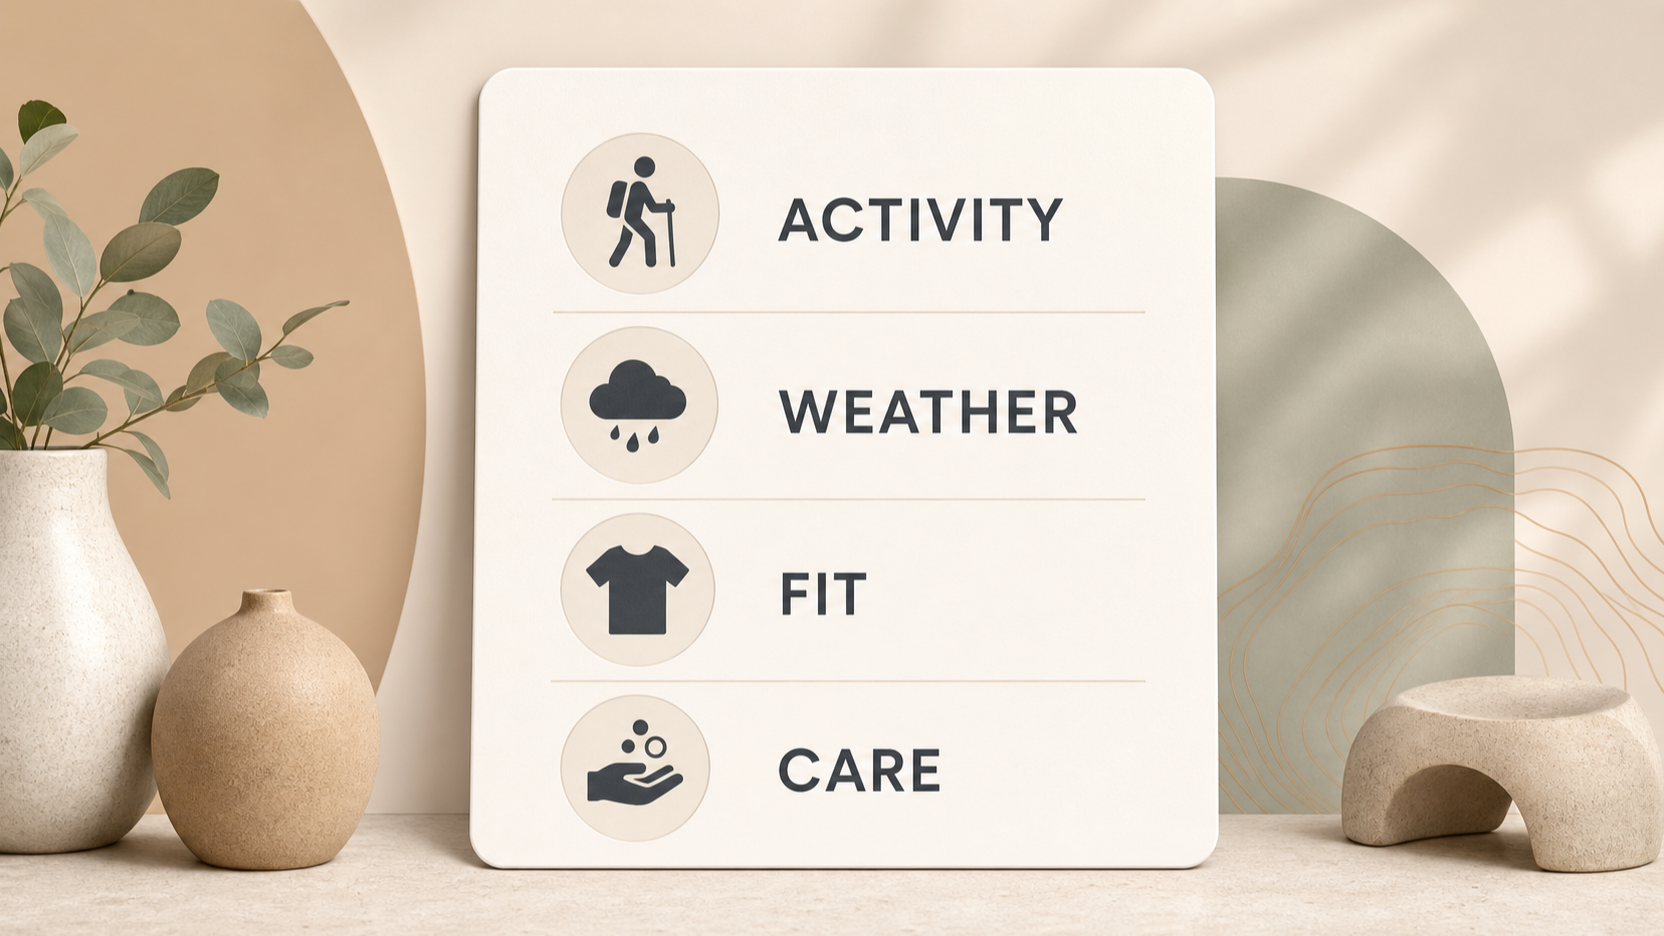 Use the same sequence whenever you compare performance apparel. It keeps the decision anchored in documented information and makes it easier to separate essential features from attractive but irrelevant ones.
- Define the activity and session: running, gym training, commuting, hiking or a combination. Note duration, intensity and the movements you need to make.
- Describe expected exposure: temperature, wind, rain, sun, humidity and whether conditions may change while you are out.
- Assign the layer role: base, mid-layer, outer shell, insulation or a standalone training piece. Do not assume a product serves every role equally well.
- Compare product documentation: material composition, stated moisture-management approach, weather-protection description, fit, pockets, closures and intended use.
- Check fit in context: consider the layers underneath, the movements you will make and the items you need to carry.
- Read care instructions and regional return terms before checkout. Confirm that the care burden and return conditions are acceptable for the exact product.
This process does not require hands-on testing to be useful. It gives you a clear basis for narrowing a crowded category and a record of why one option fits your needs better than another. When two products appear similar, return to the first three steps rather than searching for a louder marketing claim.
For a reusable version, see a performance apparel comparison checklist and keep it with your saved product links.
Frequently Asked Questions
Should I choose the same performance apparel for running, gym training and hiking?
Usually, start with separate use cases. Running, gym training and hiking can overlap, but their movement patterns, duration, weather exposure and layer needs often differ. A versatile item may work across more than one activity when its documented fit, fabric and protection suit each use. Check the activity first, then decide whether one garment genuinely meets all of its requirements.
How should I compare moisture-management fabric claims?
Compare the documented material composition, construction, intended use, fit and care requirements instead of relying on a technology name or a broad superlative. Consider your workout intensity, climate and whether the garment will sit under another layer. Manufacturer descriptions are useful evidence of design intent, but they are not a guarantee of the same result for every wearer or condition.
Why should I check care instructions before buying outdoor apparel?
Care requirements affect the time and attention needed to maintain the garment. Technical products can have item-specific guidance, so check the manufacturer’s instructions for the exact piece before purchase. This helps you judge whether the ownership routine suits your normal use and reduces the chance of applying an unsuitable generic care method.
How do return terms affect the value of performance apparel?
Return terms affect how much flexibility you have if the fit, layer role or product details do not work out. Check the policy that applies to your region and item, including eligibility, timing, condition requirements and exclusions. Do this before removing tags or using the garment, and retain the relevant policy details with your order information.
Ready to compare options? Use the checklist above to create a shortlist based on your activity, conditions and documented product details before choosing a size or checking out.
Sources
Related reading
- Best performance apparel for running, training, and hiking: evidence-led top choices
- Patagonia Torrentshell 3L vs Arc'teryx Beta Jacket: which is the better fit
- lululemon Pace Breaker Short review: practical buying assessment
- How performance apparel for running, training, and hiking should fit, feel, and perform
Editorial information: About our editorial team · Read our editorial policy · Read our affiliate disclosure.